4 Creative Gift Ideas for Mother’s Day

DIY

There’s no better time to show appreciation for the women in your life than on Mother’s Day. I’m so grateful to not only have a mother who always supported my dreams (unfortunately, not all parents are cool with their kids being Studio Art majors), but also an amazing grandmother who doubles as a best friend and a seriously kick-ass step mom who is truly, an inspiration.

This year I was also lucky enough to gain an amazing mother-in-law, who is as kind as she is self-less.

45791244_10156390729139064_7671416665648660480_o.jpg

As you’re deciding upon what to gift mom this year, try getting creative and thinking outside the box. Check out these four ideas to get your creative juices flowing:

Nothing says “I love you” like baked goods

There’s a reason we use the expression “made with love” whenever we talk about homemade goodies. Bake up your mom’s favorite treat and package it in a cute box with a festive bow. Make the gift extra special by using a family recipe.

Or check out some of my favorite goodies using the recipe links below:

24959004_10155554350054064_7640106636429047977_o

Give the gift of mindfulness

Moms have a lot going on! Inspire mom and help her find some peace from time to time by gifting her a journal to keep her thoughts organized and de-stress. Journals come in so many fun shapes in sizes. I especially love this book that teaches readers to be more creative by being more mindful and relaxed. Read more about this title here and shop it here.

img_4749

Gift her flowers…then show her how to save them!

Flowers are always a safe bet. This Mother’s Day, take the extra step and show mom how to preserve the bouquet even after the holiday has passed. All you need is some string, a dark place (closet) and some hairspray. For more information on preserving flowers, click here.

img_4659

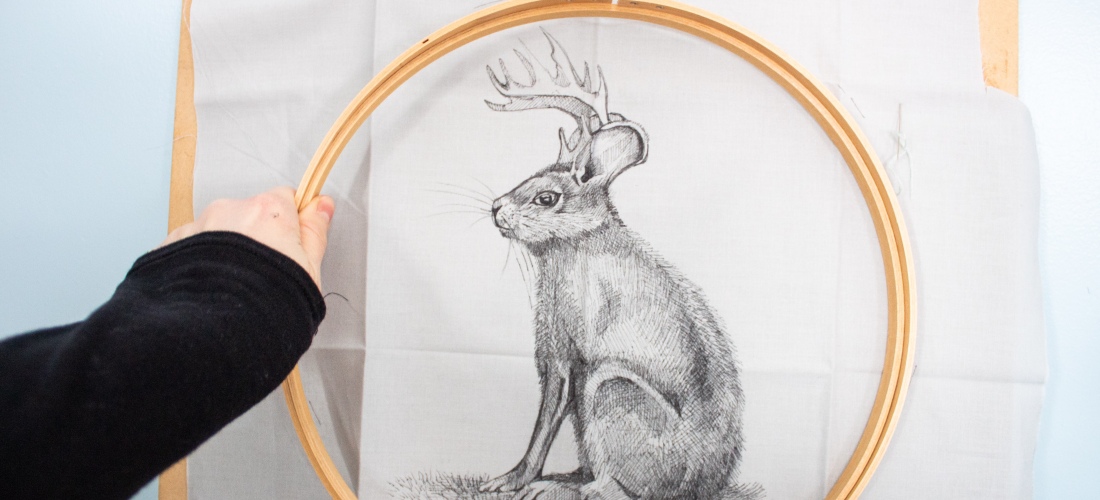
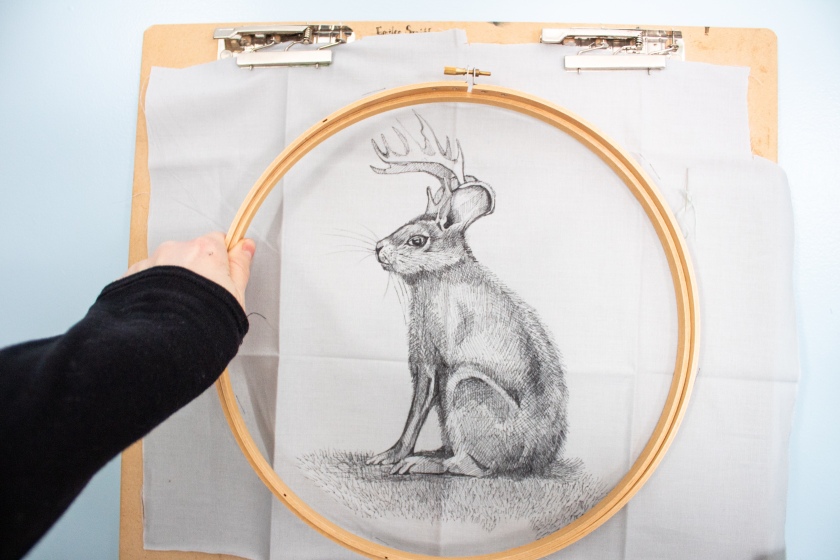
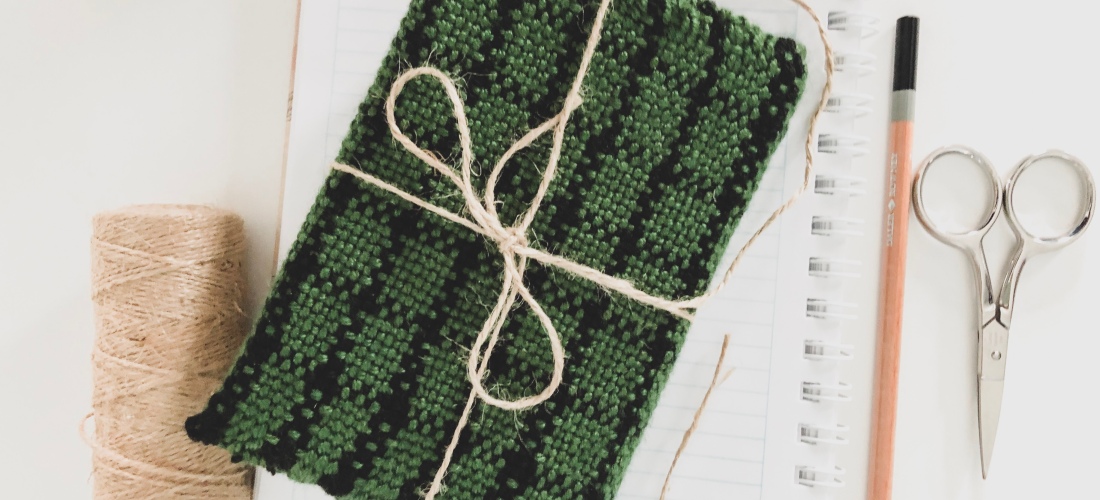
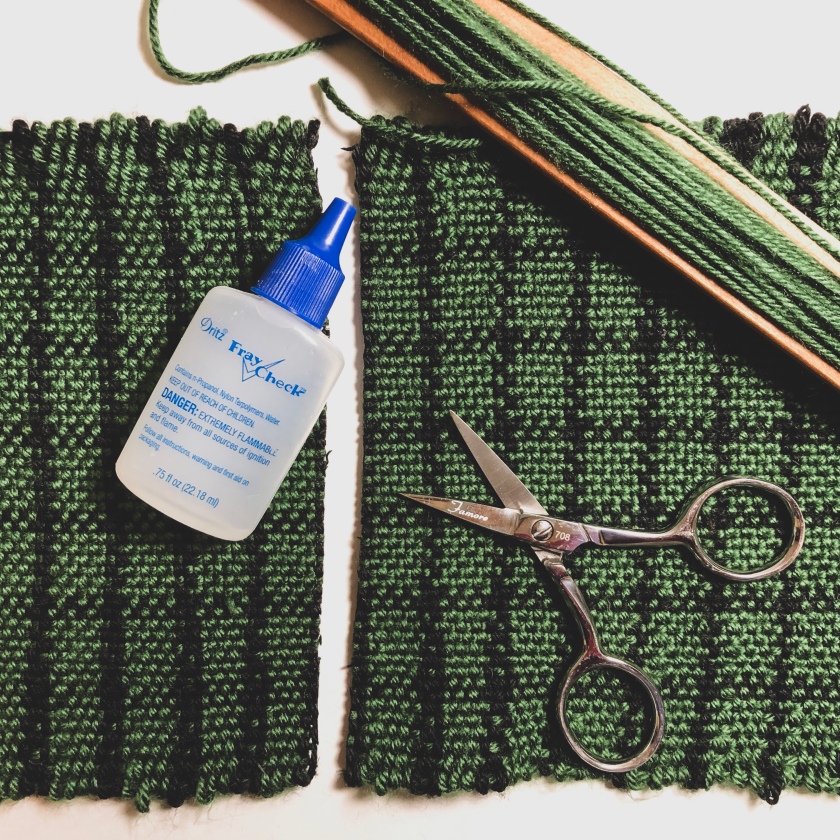
Learn something new together! 

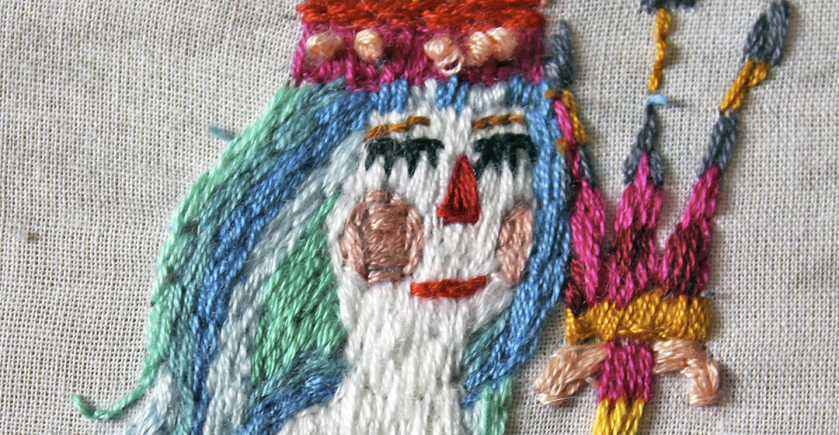
Creative workshops have become super popular over the last few years, with artists and DIYers offering up their expertise to teach community members new skills. While you’ve probably come across a painting workshop or two, think outside the box and try new skills like calligraphy, weaving or embroidery. Look for a workshop near you and buy tickets for you and your mom to go together. Mom will enjoy spending time with you and you’ll both be learning something new!

img_5104

Follow me on Instagram @theperpetualcreator to learn more about my upcoming workshops!

Screen Shot 2019-05-05 at 10.35.18 AM.png

Wishing you and your mom the best possible Mother’s Day filled with love.

Tips and Tricks for Drawing on Fabric

Art, DIY

I really love to draw. But I also love fiber art. So – what’s one of my favorite things to do? Draw on fabric! To me, drawing is the foundation of all art and I love bringing it into the fiber-verse whenever I can.

Drawing on fabric has a few different use cases including:

  • Artwork: If you are like me, then maybe you want to draw a masterpiece on a piece of cotton. If you’re not like me and don’t understand why one would want to do this, think about all of the fun embroidery and sewn elements you can add to the drawing when it’s done on fabric!
  • Embroidery designs: I love drawing embroidery designs right onto the cloth. 
  • Sewing projects: Sometimes you need to draw out a pattern or indicate cut lines.

Whatever your reason for drawing on fabric, there are a few tricks to keep in mind to keep the process fun and frustration-free. Here are my top tips to get you started:

  1. Iron out those wrinkles: Or steam them out! You won’t want those pesky wrinkles getting in the way of your design and tripping up your pen. I have a travel-sized steamer that I keep in my studio that I love using for these occasions. 

  1. Pick the right drawing tool

I you’re drawing an embroidery pattern or making marks for a sewing project, then you’ll want to use a marking pen. I love this pen by Dritz because the ink is disolvable by either air or water, depending on what side you draw with. This is great for making marks that you don’t want to be permanent.

  1. Be wary of bleed

If you’re using a marker, or pen and ink, be wary of ink bleeding through to the other side. To be on the safe side, do your drawing on a drawing board or place scrap paper beneath the fabric. I’ve had this board since college and use it for soooo many projects. It’s my on-the-go studio space!

  1. Add texture

Bring your drawing to life with embroidery! I have a penchant for hand embroidery but adding stitching with a machine is also a lot of fun. Utilize French knots for even more added texture.

Mermaidembroidery1

The Perpetual Creator a participant in the Amazon Services LLC Associates Program, an affiliate advertising program designed to provide a means for sites to earn advertising fees by advertising and linking to Amazon.com

How to Take Your Weavings Beyond a Basic Scarf

DIY

One of the biggest questions I get about weaving is, “What do you do with the weavings?” or “Can you make more than just scarves?”

I love approaching weaving from an artist’s mindset, meaning I like to weave works of art that convey an idea or concept. This might be weaving a specific pattern or color to convey a feeling, or adding embroidery to tell a story. So for me, I don’t feel the need to necessarily “do” anything with my weavings because they do something on their own – they’re art!

The other approach to weaving is from a crafting, DIY perspective. In answer to,”Can you make more than just scarves?,” the answer is absolutely! There are soooo many things you can weave. Some projects include table runners, dish towels, blankets, coasters and pot holders – to name a few.

These projects are all straightforward (or, I should say, rectangular) and don’t require any sewing. But what if you feel like moving beyond the basic rectangle?

In that case, the possibilities are endless! 

This is something I’m just starting to explore more myself, so I know how scary it can be to take a pair of scissors to your precious handwoven cloth.

Before cutting into your weavings, there is one very, VERY, important investment you need to make: Fray Check. This is the magic that’s going to make cutting into your weaving 10,000 times less scary. Seriously. ✂️

This product is an absolute Godsend and you can buy a two-pack on Amazon for under $10. Worth. Every. Penny.

So what exactly is Fray Check you ask? Essentially, a glue that helps keep your cloth from fraying. Designed for sewers, it works just as well for weavers! Using Fray Check, you can bind your cloth together where you’re going to cut it.

Both of the projects featured in this post I put together with the help of my handy-dandy friend, Fray Check.

How to use:

  1. Decide where you will be cutting your cloth and run a line of Fray Check across. (Do this in a well-ventilated area).
  2. Allow the Fray Check to dry.
  3. Once dry, turn the cloth over and put a corresponding line of Fray Check on the other side.
  4. Once the fabric is completely dry, you can go ahead and make your cut! Use sharp scissors to give yourself a nice, clean cut.

Use this trick to start transforming your beautiful cloth into different projects. If you’re nervous about fraying edges, you can also run stitches across the edges to make them extra secure. Depending on the weight of the yarn, you can either run the cloth under the sewing machine with thread or hand sew it with yarn leftover from your project.

As you can see, I transformed this green, checked weaving into a small pouch (perfect for stowing pencils, erasers, and other art supplies!) and a sketchbook cover. I love that I was able to get two projects out of one small weaving. It definitely makes warping worth your while. 😸

Not sure what you want to make first? Check out some of these ideas on Pinterest.

The Easiest Way to Preserve Fresh Flowers

DIY

One of the things I loved most about my wedding was the flowers, especially my bouquet. 💐 I had gone through two consultations with my florist prior to the wedding but, admittedly, was having a difficult time imagining what the finished product would look like.

I had brought several inspiration photos to the first meeting and was dismayed to learn that most of my desired florals weren’t in season. My florist assured me that her suggested alternatives would be just as a beautiful and, leaving it to the professional, I trusted all of her suggestions.

I remember getting ready the morning of the wedding, somewhat frantically running around doing 8 million things but stopped dead when the flowers were delivered. They were gorgeous – prettier than I could have ever imagined.

Janitz bridal portraits-2.jpg

And my bouquet? Breathtaking. Leading up to the wedding, I definitely questioned my own vision from time to time (totally normal for brides) but felt so happy with all of my decisions when I saw that bouquet. It was the proverbial icing on top. Holding that bouquet made me feel like a bride.

Janitz bridal portraits-10.jpg

After the wedding, Andy and I immediately started getting ready for our honeymoon to Maui and Kauai. I was incredibly excited for our trip, but kept thinking how sad it was that all of my flowers would die while we were away.

I was on a mission to preserve some of these pieces and made a special trip to my florist’s shop before embarking on our honeymoon. After talking it through with her, she provided me with a simple solution to preserve my flowers for many years to come. She even showed me her own preserved flowers from her son’s wedding – over 20 years ago!

Following her advice, this is what I did to preserve my wedding bouquet & Andy’s boutonniere (and spare boutonniere – which, by the way, is an excellent low-budget add that is totally worth having in your floral proposal should anything go awry).

Step 1

If preserving multiple flowers, tie the stems together tightly with string.

Step 2

Spray flowers lightly with hairspray.

Step 3

Hang flowers upside down in a cool, dark place away from direct sunlight. Closets are perfect!

Step 4

Allow them to dry for a week or two.

Step 5

Once dried, feel free to give them another dose of hairspray.

Step 6

Take them down and enjoy them forever!

I’ll admit, I’m super excited about how our florals turned out and have been enjoying displaying them in our home. They are a great every-day reminder of how perfect our wedding was and how exciting our life together is bound to be.

Wedding photography: Blushwood Studios
Floral designer: The Floral Fantasy
Wedding gown: Circa Bridal Boutique
Hair & makeup: Dayna Rae Beauty

Weaving buffalo check on the rigid heddle loom

Art, DIY

Screen Shot 2019-02-11 at 6.01.09 PM.png
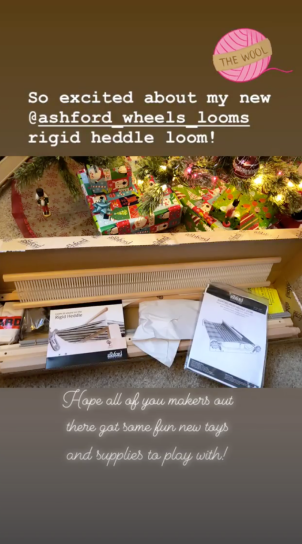
This Christmas my husband gifted me perhaps the greatest present you could ever buy a fiber artist: an Ashford rigid heddle loom! I took a couple of weaving courses in college and have really been missing the art form over the past few years.

While I am knowledgable in weaving on a floor loom, the rigid heddle is a new venture for me. Things that I’m loving about it so far:

  1. It’s so light! I can move it wherever I want.
  2. It doesn’t take up a lot of space. Slide it right under the bed if you want!
  3. Warping it is a breeze. Less than an hour? Yes, please.
  4. It allows me to use a wide variety of yarns. Suddenly yarn scraps have a purpose again!

Hands down, an awesome option for beginner weavers as well as those who may not have the room to dedicate to a floor loom or the money to invest in one.

My new loom is the 32” model which is amazing because it allows for me to create patterns up to that width but also as narrow as I would like. This means I can make blankets as well as scarves!

Because the rigid heddle loom is new to me, I’ve been using the last six weeks as a learning period – experimenting with different yarn weights, colors and patterns.

So far, one of my favorite designs is buffalo check. This trendy pattern is honestly the simplest you could create on the rigid heddle loom and, when created with contrasting colors, yields striking results.

Pattern

Warp: 4 red, 4 blue (8 ends)

Weave: 4 red, 4 blue

I followed this pattern using Caron Simply Soft yarn in red and navy to create this super cozy scarf.

Seriously, so simple! I’m curious, what are your favorite buffalo check colors?

Stay tuned for more pattern exploration updates and don’t forget to follow along with my weaving adventures on Instagram.


DIY Plaid Flannel Blanket Scarves

DIY

This Christmas I was inspired to go all-out with homemade holiday gifts. In searching for a project I could tackle for several of my family members, I came across a great DIY gift idea: blanket scarves!

Trendy and inexpensive to make (less than $10 per scarf), I decided to give this craft a whirl this holiday season, making one for every female family member I’d be spending time with on Christmas day.

This ended up being nine scarves. Word to the wise, if you’re planning to make this many scarves for Christmas start early (like, early November) to avoid stressing yourself out with a scarf-making frenzy two days before Christmas. Yes, I’m speaking from experience.  

That being said, these scarves would make great gifts any time of year!

The time and energy were well worth it, as these homemade gifts were a huge hit. Now that the holidays are over I’m looking forward to making one for myself!  

Supplies:

  • 1.5 yards of apparel flannel (can be found at Walmart & Joanne Fabrics)
  • Scissors
  • Seam ripper

Instructions

  1. Start by trimming all edges, using the plaid pattern as a guideline to cut relatively straight. Don’t worry if you mess up! The fresh cut will make it easier for you to begin pulling your fringe.

2. Fold the fabric diagonally, creating a right angle.

img_3996.jpg

3. Trim the long end of the fabric so that it lines up with the edge to form a square.

4. Now – get a movie ready as you begin to start your fringe. This part of the process is easy – it just takes a hot second. Here’s what you’re gonna do – using the seam ripper, begin to undo the weave of the fabric, thread by thread. (check out the photo below)

5. You can either create a fringe on two sides of your scarf OR all the way around. Personally, I like blanket scarves that have a little fringe on all sides.

6. Once you’re done with the fringe you can either stop as is or (for extra reinforcement) use a sewing machine to run a quick stitch down all four sides.

Once your done with the fringe, all that’s left is to package it up pretty to give away as a gift! Or, ya know, throw it around your neck and call it yours. 😏


Snowy Pine Embroidery

Art, DIY

This Christmas I went all out in making handmade gifts. In fact, I spent most of November and December unweaving flannel for homemade blanket scarves for all the girls in my family – more on that later.

Aside from the scarves, I also gifted both sets of my parents and grandparents an original hand embroidery.

I decided to do a different design for each couple and the design I’m sharing today is the one I completed for my grandparents.

This design features three snow-covered pines, standing elegantly in a winter wonderland. I was inspired by winter-themed embroidery art I found on Pinterest, and was particularly drawn to this idea as my grandparents can now display this artwork all winter, instead of having to take it down with the Christmas decor.

I would highly recommend a design like this for artists looking to get into fiber art. With its limited color palette and simple line-art design, it’s a very approachable piece. In fact, it only took me a few hours to complete!

If you’re interested in tackling a pine-inspired embroidery, check out some inspiration here.

Happy stitching!


Snowman Embroidery

Art, DIY

This winter, I set about making my first snowman-inspired embroidery, inspired by the idea of making my grandmother a homemade gift.

Growing up, like most children, I was quite the expert in homemade gifts, constantly gifting my family members with the crafts and artwork I labored over in school and during my free time.

I’m happy to say my craftsmanship has improved quite a bit over the last 15+ years or so, but my desire to give homemade gifts has remained the same. Knowing that my grandmother would appreciate a handmade gift the most, I set about creating this embroidery for her in late November.


The process started out much the same as my other pieces, beginning with some google research (imagery inspiration is so important) and moving on to a pen sketch on fabric. When designing this piece, I knew I didn’t want to go too big (I was working on a limited time frame) but I also knew that it had to be big enough to make for a substantial gift. Not to mention a larger piece allows for more intricate details.

Another design decision that had to be made was whether or not I wanted to embroider snow falling in the background. While French knot snowflakes would have furthered the piece’s sense of whimsy, I ultimately decided against them, not wanting to distract from the main element and focus (the snowman). With the design being so clean, I decided against the clutter of snowfall.


After filling in all of the colors and patterns, I framed the piece and tied a festive blue ribbon onto the fastening, allowing the artwork to be easily hung. Although the snowman in the drawing is wearing Christmas colors, I designed him with the intention of being left out all winter, knowing that my grandparents would want to enjoy him all season, as opposed to only one month during the year.

While I’m in no hurry to embroider another snowman any time soon, I’m happy to report that the gift went over extraordinarily well! Having been the person who first got me hooked on embroidery, I know my grandmother was able to appreciate the time and effort put into each and every one of the countless stitches.

How to Make Concrete Pumpkin Planters

Decorating, DIY

During the fall, most of us are overcome with a strong urge to decorate, filling our homes with fake leaves and throwing Indian corn and scarecrows up on our front porches.

In your transition from summer to autumn, I would highly consider giving this project a try. For less than ten dollars, you can create two beautiful and unique pumpkin planters, pieces that you will be able to use for many years to come!

pumpkin

WHAT YOU’LL NEED:

  • 50 lb bag of concrete
  • Water
  • Bucket or wheel barrow for mixing your concrete
  • A concrete-mixing tool, such as a shovel
  • 2 plastic trick-or-treating pumpkins
  • Non-stick cooking spray
  • Styrofoam
  • Vessels to place inside the planters (we used gatorade bottles, but I would recommend something with straight and smooth sides)
  • An exact-o knife or cardboard cutter
  • Spray paint, acrylic paint and paint brushes (if desired)img_0388


DIRECTIONS:

  1. Mix your concrete following the instructions on the bag. We mixed our concrete by using a shovel and wheelbarrow.img_0397_
  2. Tape a small square of styrofoam to the bottom of your plastic pumpkins (this will be for the water to drain out the bottom of your planter).
  3. Spray the inside of the plastic pumpkins and the outside of the placeholders (gatorade bottles) with cooking spray.
  4. Set the placeholders on top of the styrofoam pieces inside the pumpkins.
  5. Fill the pumpkins with concrete while holding the placeholders steady. Occasionally shake the pumpkins to ensure the concrete is settling properly.IMG_0398_.JPG
  6. Once filled, leave the pumpkins to set and dry. If able, place them in the sun to speed up the drying process. I would recommend giving them 24-48 hours to set.IMG_0401_.jpg
  7. Once the pumpkins have properly set, cut away the plastic using a box cutter or exact-o knife.IMG_0402_.JPG
  8. Remove the placeholder inside each pumpkin.IMG_0415_.JPG
  9. Cure the planters by placing them in a bucket of water or misting them with a squirt bottle.

DECORATE:

We let our pumpkins sit for about a week, giving the concrete an adequate amount of time to set and cure.

If interested in decorating your pumpkins with paint, I would recommend first spray painting them with orange paint, creating a base layer for further decoration. I would also recommend two coats of spray paint, making sure you are filling in any small pores that may have formed in your concrete.

Once the spray paint has dried, you can use acrylic paint and a paint brush to fill in the your pumpkins’ faces.

FINISHING TOUCH:

Last, but certainly not least, fill your planters with mums or other fall-time plants.

And there you have it: two beautiful planters that you can use year after year for under ten dollars. So, what are you waiting for? Halloween  is only 6 weeks away!

This slideshow requires JavaScript.