One of the biggest questions I get about weaving is, “What do you do with the weavings?” or “Can you make more than just scarves?”
I love approaching weaving from an artist’s mindset, meaning I like to weave works of art that convey an idea or concept. This might be weaving a specific pattern or color to convey a feeling, or adding embroidery to tell a story. So for me, I don’t feel the need to necessarily “do” anything with my weavings because they do something on their own – they’re art!
The other approach to weaving is from a crafting, DIY perspective. In answer to,”Can you make more than just scarves?,” the answer is absolutely! There are soooo many things you can weave. Some projects include table runners, dish towels, blankets, coasters and pot holders – to name a few.
These projects are all straightforward (or, I should say, rectangular) and don’t require any sewing. But what if you feel like moving beyond the basic rectangle?
In that case, the possibilities are endless!

This is something I’m just starting to explore more myself, so I know how scary it can be to take a pair of scissors to your precious handwoven cloth.
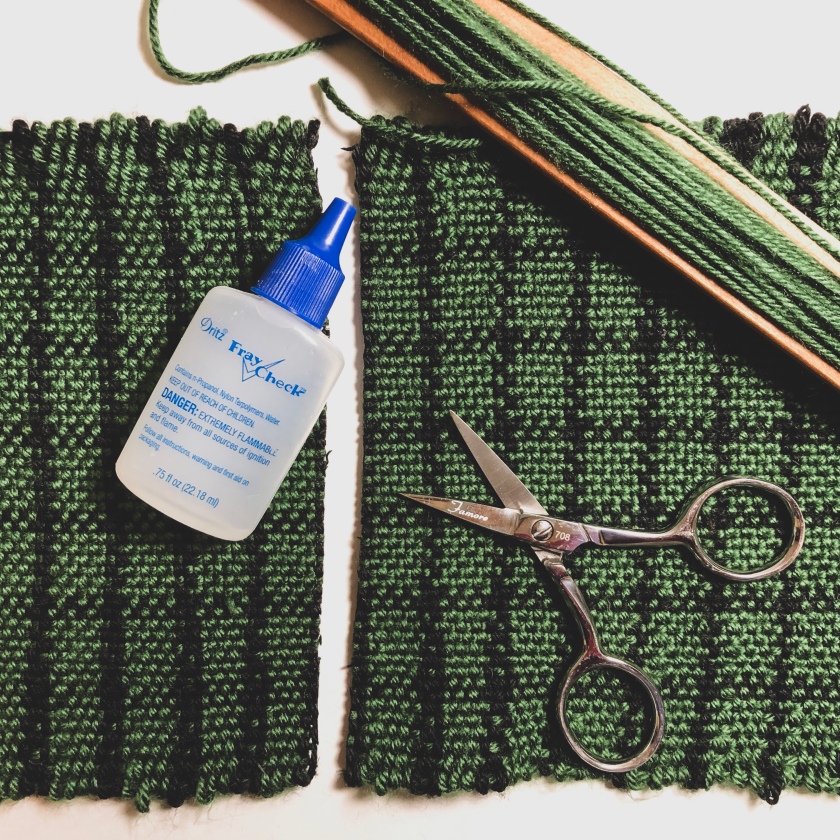
Before cutting into your weavings, there is one very, VERY, important investment you need to make: Fray Check. This is the magic that’s going to make cutting into your weaving 10,000 times less scary. Seriously. ✂️
This product is an absolute Godsend and you can buy a two-pack on Amazon for under $10. Worth. Every. Penny.

So what exactly is Fray Check you ask? Essentially, a glue that helps keep your cloth from fraying. Designed for sewers, it works just as well for weavers! Using Fray Check, you can bind your cloth together where you’re going to cut it.
Both of the projects featured in this post I put together with the help of my handy-dandy friend, Fray Check.
How to use:
- Decide where you will be cutting your cloth and run a line of Fray Check across. (Do this in a well-ventilated area).
- Allow the Fray Check to dry.
- Once dry, turn the cloth over and put a corresponding line of Fray Check on the other side.
- Once the fabric is completely dry, you can go ahead and make your cut! Use sharp scissors to give yourself a nice, clean cut.

Use this trick to start transforming your beautiful cloth into different projects. If you’re nervous about fraying edges, you can also run stitches across the edges to make them extra secure. Depending on the weight of the yarn, you can either run the cloth under the sewing machine with thread or hand sew it with yarn leftover from your project.
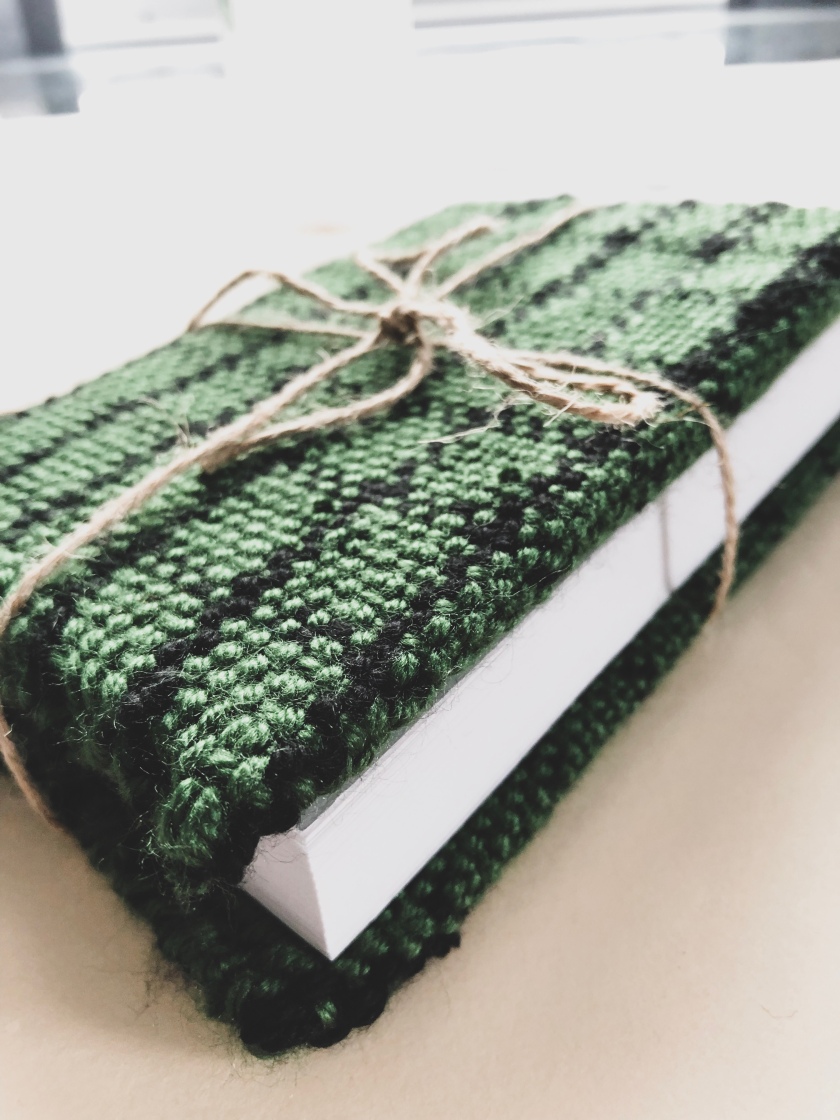
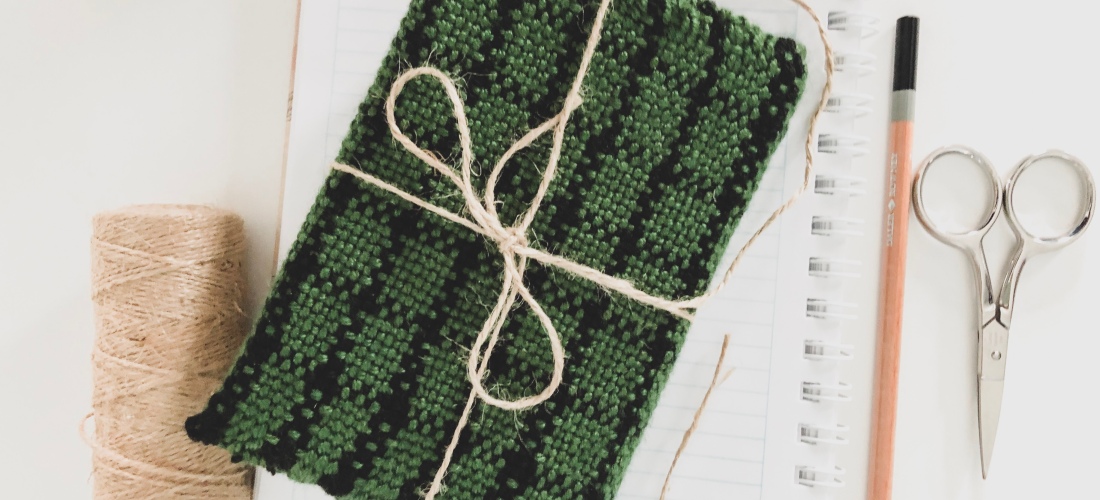
As you can see, I transformed this green, checked weaving into a small pouch (perfect for stowing pencils, erasers, and other art supplies!) and a sketchbook cover. I love that I was able to get two projects out of one small weaving. It definitely makes warping worth your while. 😸

Not sure what you want to make first? Check out some of these ideas on Pinterest.
