How to Take Your Weavings Beyond a Basic Scarf

DIY

One of the biggest questions I get about weaving is, “What do you do with the weavings?” or “Can you make more than just scarves?”

I love approaching weaving from an artist’s mindset, meaning I like to weave works of art that convey an idea or concept. This might be weaving a specific pattern or color to convey a feeling, or adding embroidery to tell a story. So for me, I don’t feel the need to necessarily “do” anything with my weavings because they do something on their own – they’re art!

The other approach to weaving is from a crafting, DIY perspective. In answer to,”Can you make more than just scarves?,” the answer is absolutely! There are soooo many things you can weave. Some projects include table runners, dish towels, blankets, coasters and pot holders – to name a few.

These projects are all straightforward (or, I should say, rectangular) and don’t require any sewing. But what if you feel like moving beyond the basic rectangle?

In that case, the possibilities are endless! 

This is something I’m just starting to explore more myself, so I know how scary it can be to take a pair of scissors to your precious handwoven cloth.

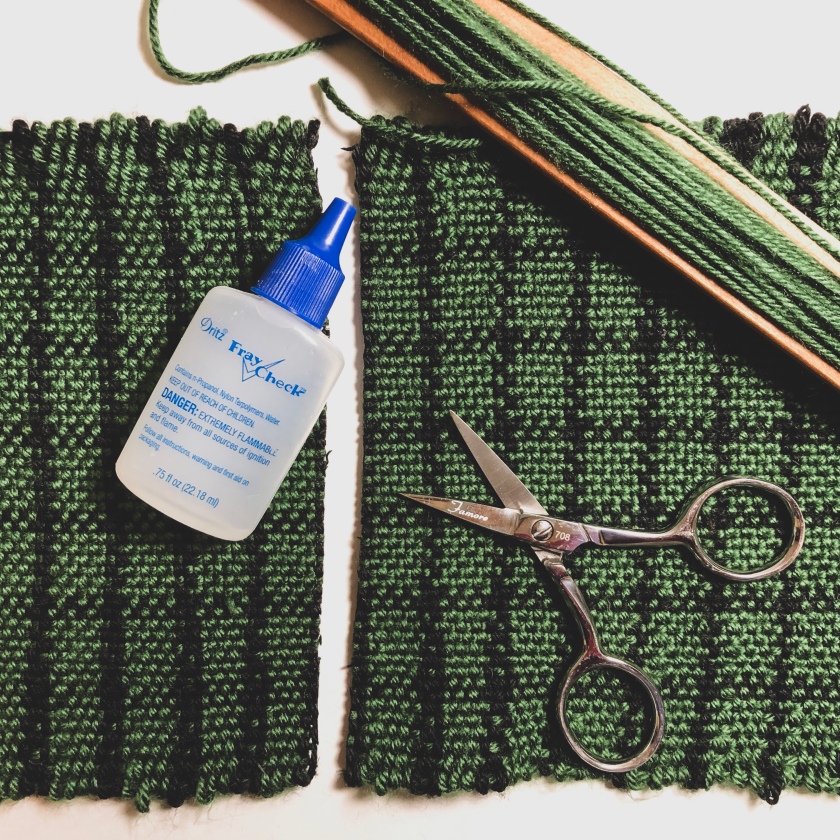
Before cutting into your weavings, there is one very, VERY, important investment you need to make: Fray Check. This is the magic that’s going to make cutting into your weaving 10,000 times less scary. Seriously. ✂️

This product is an absolute Godsend and you can buy a two-pack on Amazon for under $10. Worth. Every. Penny.

So what exactly is Fray Check you ask? Essentially, a glue that helps keep your cloth from fraying. Designed for sewers, it works just as well for weavers! Using Fray Check, you can bind your cloth together where you’re going to cut it.

Both of the projects featured in this post I put together with the help of my handy-dandy friend, Fray Check.

How to use:

  1. Decide where you will be cutting your cloth and run a line of Fray Check across. (Do this in a well-ventilated area).
  2. Allow the Fray Check to dry.
  3. Once dry, turn the cloth over and put a corresponding line of Fray Check on the other side.
  4. Once the fabric is completely dry, you can go ahead and make your cut! Use sharp scissors to give yourself a nice, clean cut.

Use this trick to start transforming your beautiful cloth into different projects. If you’re nervous about fraying edges, you can also run stitches across the edges to make them extra secure. Depending on the weight of the yarn, you can either run the cloth under the sewing machine with thread or hand sew it with yarn leftover from your project.

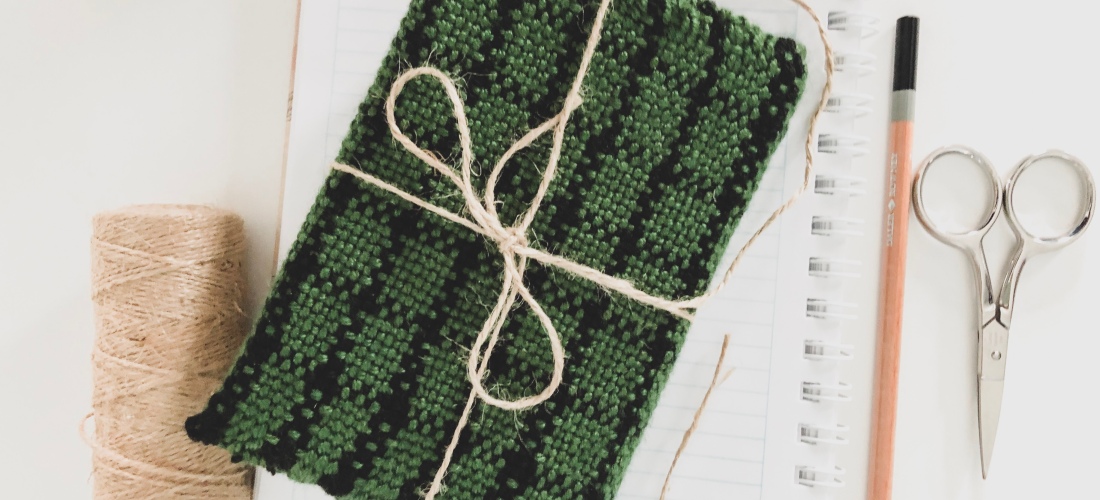
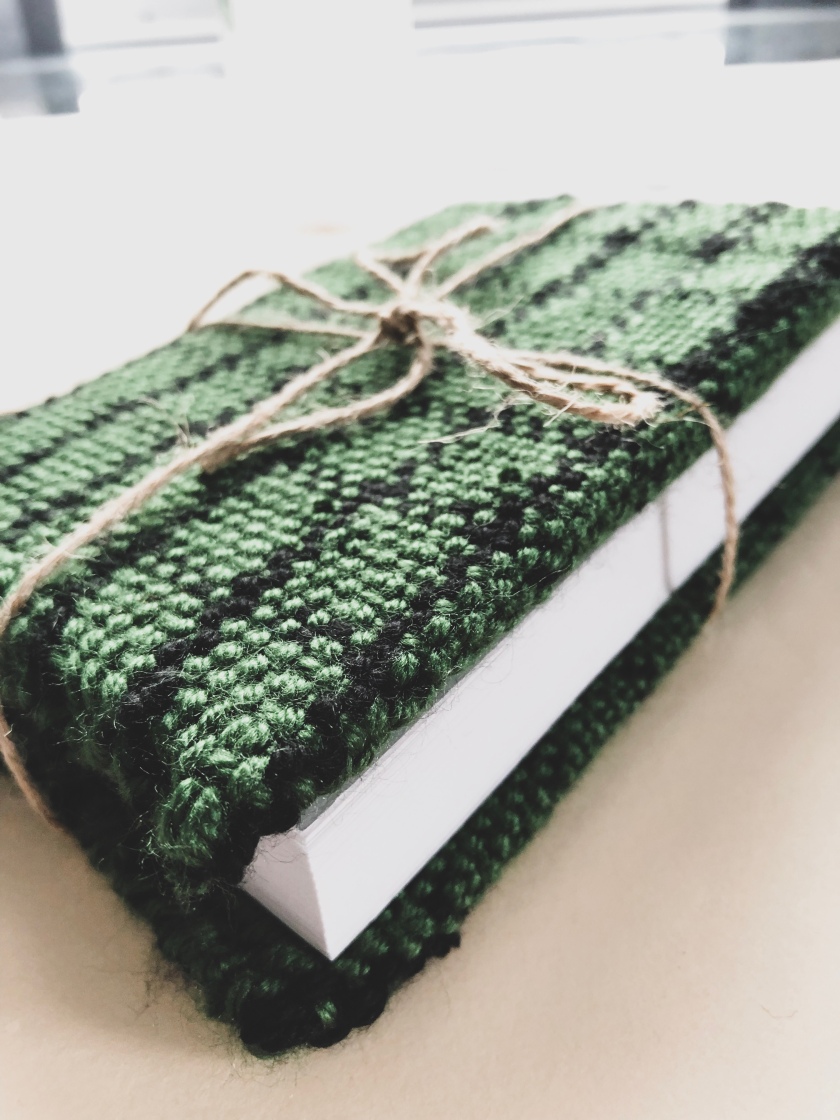
As you can see, I transformed this green, checked weaving into a small pouch (perfect for stowing pencils, erasers, and other art supplies!) and a sketchbook cover. I love that I was able to get two projects out of one small weaving. It definitely makes warping worth your while. 😸

Not sure what you want to make first? Check out some of these ideas on Pinterest.

Weaving buffalo check on the rigid heddle loom

Art, DIY

Screen Shot 2019-02-11 at 6.01.09 PM.png
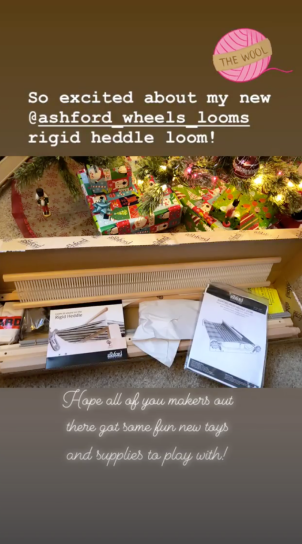
This Christmas my husband gifted me perhaps the greatest present you could ever buy a fiber artist: an Ashford rigid heddle loom! I took a couple of weaving courses in college and have really been missing the art form over the past few years.

While I am knowledgable in weaving on a floor loom, the rigid heddle is a new venture for me. Things that I’m loving about it so far:

  1. It’s so light! I can move it wherever I want.
  2. It doesn’t take up a lot of space. Slide it right under the bed if you want!
  3. Warping it is a breeze. Less than an hour? Yes, please.
  4. It allows me to use a wide variety of yarns. Suddenly yarn scraps have a purpose again!

Hands down, an awesome option for beginner weavers as well as those who may not have the room to dedicate to a floor loom or the money to invest in one.

My new loom is the 32” model which is amazing because it allows for me to create patterns up to that width but also as narrow as I would like. This means I can make blankets as well as scarves!

Because the rigid heddle loom is new to me, I’ve been using the last six weeks as a learning period – experimenting with different yarn weights, colors and patterns.

So far, one of my favorite designs is buffalo check. This trendy pattern is honestly the simplest you could create on the rigid heddle loom and, when created with contrasting colors, yields striking results.

Pattern

Warp: 4 red, 4 blue (8 ends)

Weave: 4 red, 4 blue

I followed this pattern using Caron Simply Soft yarn in red and navy to create this super cozy scarf.

Seriously, so simple! I’m curious, what are your favorite buffalo check colors?

Stay tuned for more pattern exploration updates and don’t forget to follow along with my weaving adventures on Instagram.


Woven Placemats

DIY

Today I’m bringing some DIY to the site with woven placemats! Having taken a number of fibers courses at SUNY Cortland, I have been looking for a way to incorporate more weaving into my life. I can across this idea in a book and decided it would be a fun and inexpensive weaving project.

True to what I thought, this project was enjoyable, simple and may prove inspirational to those of you who are already planning holiday gifts. Below you will find instructions on how to make these placemats for yourself.

  1. Fabric: The first step, of course, is to pick out your fabric. I used fabric from Walmart, picking several designs from the quilter’s quarters you can find in the sewing section. Of course you can also find fabric at most craft stores or reuse textiles from around your house.woven placemat fabric
  2. Cut: Once you have your fabric you can proceed to rip it into 1”-wide strips.
  3. Warp: In weaving, the vertical strings (or in this case fabric) that you weave onto is called the warp. To make my warp, I tied the fabric strips onto my small tapestry loom which, conveniently enough, is the same size as a standard placemat. If you do not have a tapestry loom, you can make your warp on a cork-board, securing the fabric strips with push-pins.woven placemat on looom.jpg
  4. Weave: Once your warp is finished you proceed to weaving. Simply follow the basic over-and-under weaving technique (like I did) or feel free to get more creative!

(If you are using the cork-board technique you may need to use pushpins to keep your weave in place.)

5.Tie: The last step is to tie the tails of the fabric strips together, giving the placemat a fringe. You can leave the fringe as long or as short as you want.

woven placemat.jpg

So, whether you are making these for your own dining room or plan on giving them away as gifts, these placemats are a fun project that will also give you a sense of accomplishment!